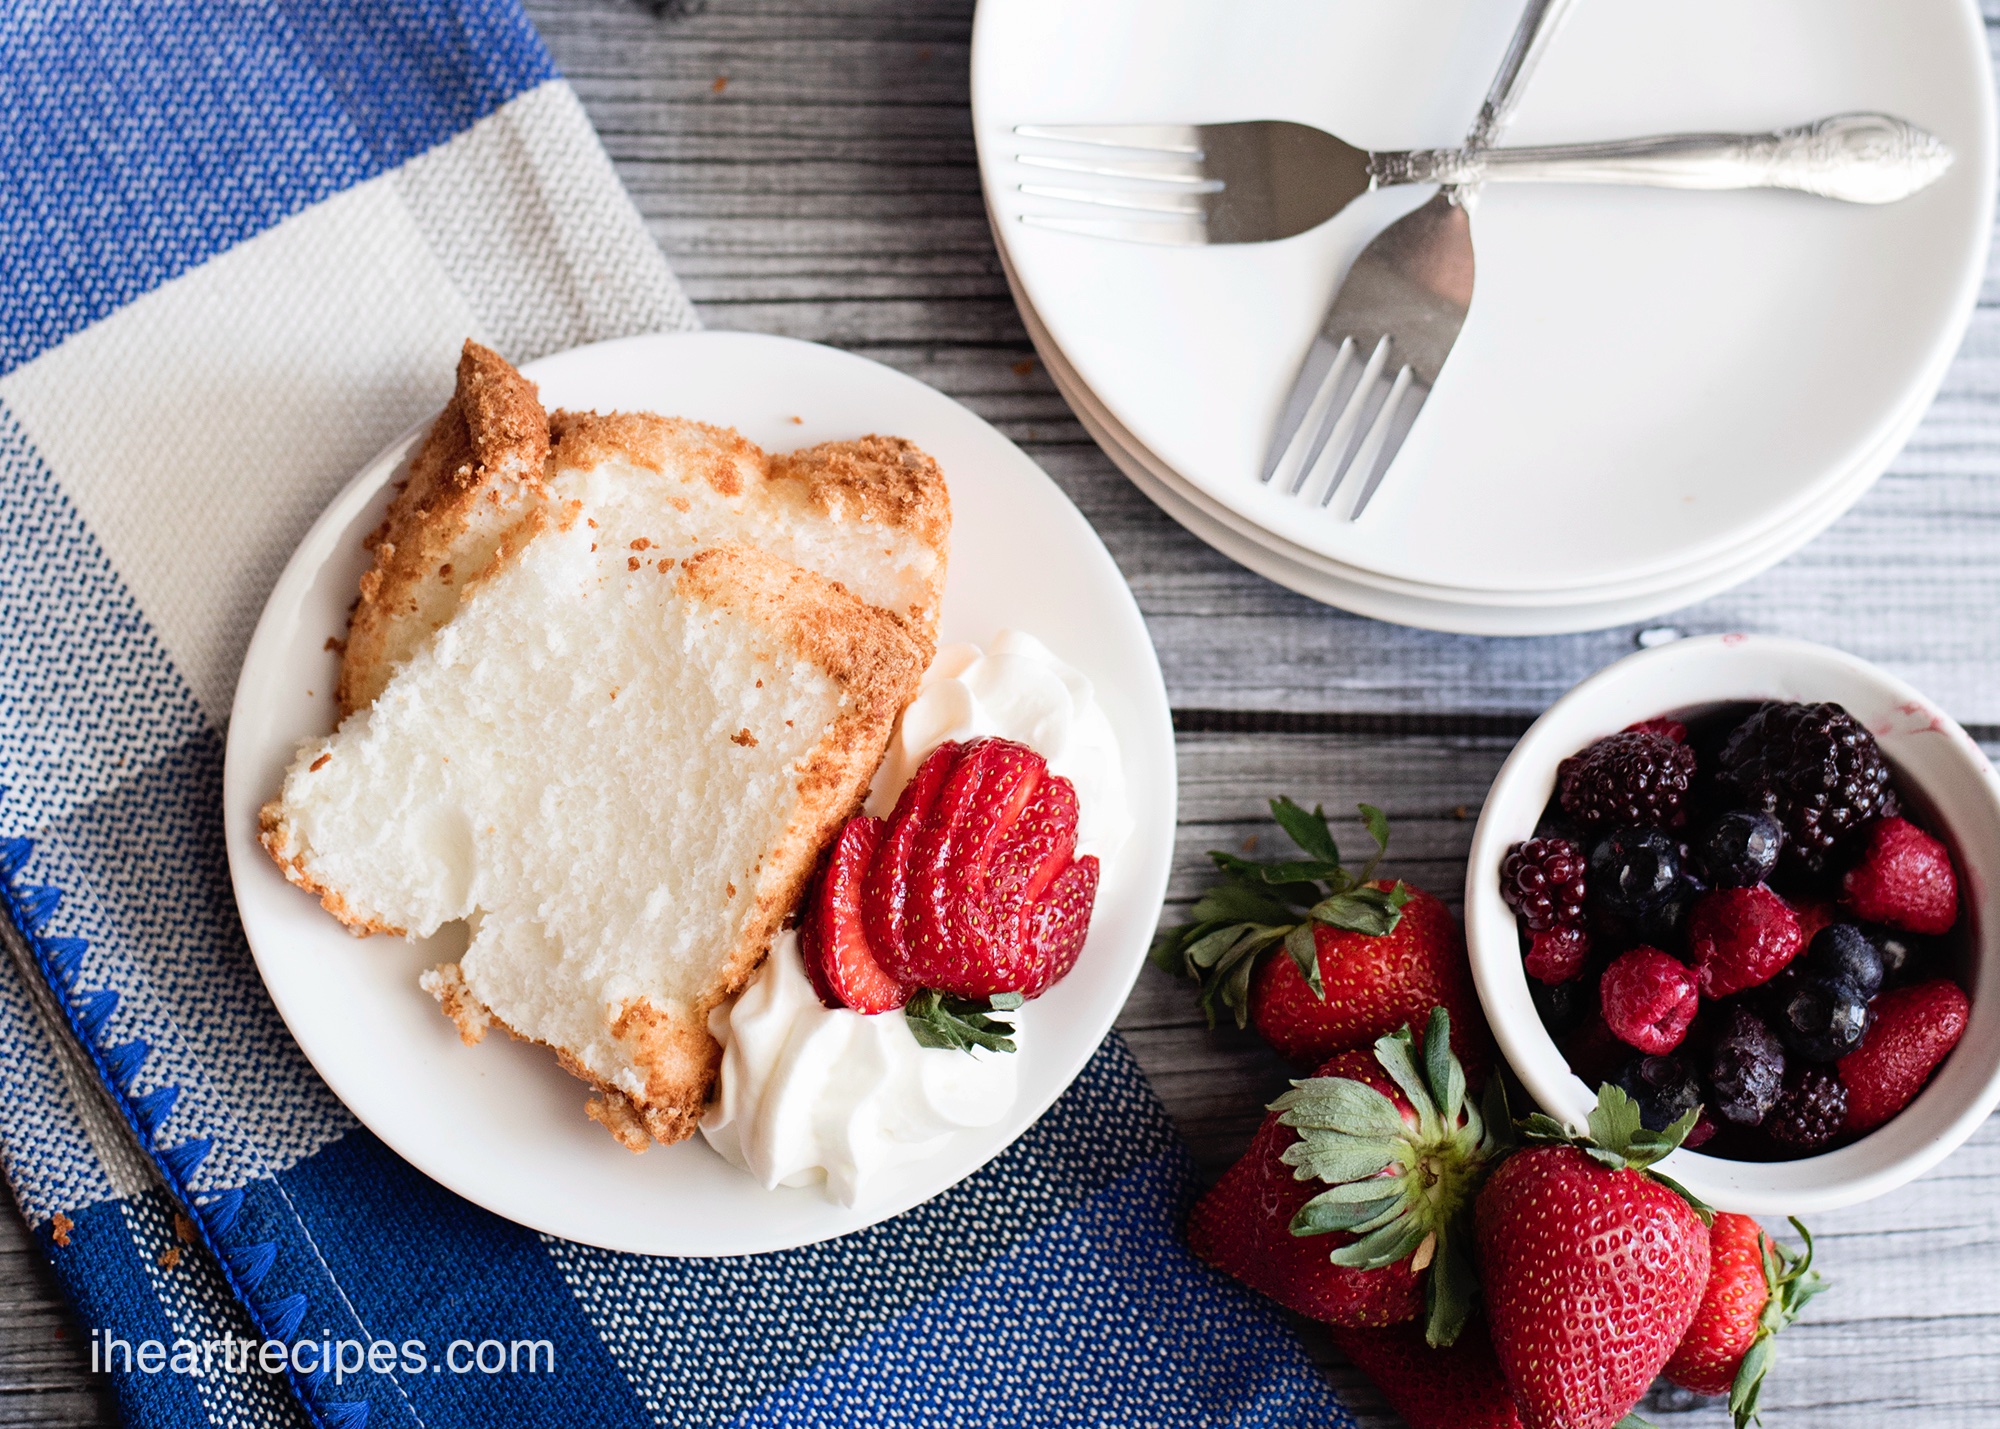
Light, fluffy, and utterly divine, this Angel Food Cake recipe is a true masterpiece in the world of desserts. Experience the ethereal delight of this classic treat as it melts in your mouth, leaving you craving for more. Prepare to be captivated by its heavenly aroma and savor every delightful bite. Let’s embark on a baking journey that promises to elevate your baking skills and enchant your loved ones with this timeless delicacy.
When it comes to desserts that evoke feelings of nostalgia and pure delight, few can match the ethereal beauty of an Angel Food Cake. With its light, fluffy texture and delicate flavor, this heavenly confection has been a favorite treat for generations. As we explore the history, baking secrets, and the unique experience of savoring an Angel Food Cake, you’ll soon discover why this timeless classic continues to captivate our hearts and taste buds.
A Brief History of Angel Food Cake
The origins of Angel Food Cake can be traced back to the United States in the mid-19th century. The first known recipe for this cloud-like dessert appeared in a cookbook called “The Kentucky Housewife” by Lettice Bryan, published in 1838. However, it wasn’t until the late 19th century that the cake earned its heavenly name, believed to be a tribute to its light and airy texture, akin to the angelic realm.
Angel Food Cake gained widespread popularity in the early 20th century when baking powder became readily available. The magic of this cake lies in the use of egg whites, whipped to stiff peaks, and its reliance on cake flour rather than all-purpose flour. These techniques contribute to the cake’s distinctive sponge-like consistency and allow it to rise to impressive heights.
What is the Secret to a Good Homemade Angel Food Cake?
The secret to a good Angel Food Cake is achieving the perfect balance of lightness, moisture, and flavor. Here are the essential secrets to creating a heavenly Angel Food Cake:
1. Whipping the Egg Whites: The most critical step in making an Angel Food Cake is whipping the egg whites to stiff peaks. Use fresh eggs at room temperature and ensure that no traces of egg yolk are mixed with the whites, as any fat can hinder the proper whipping process. Use a clean, dry bowl and beaters to whip the egg whites until they form glossy, stiff peaks. This step is what gives the cake its characteristic airy and sponge-like texture.
2. Sifting the Dry Ingredients: Sift the cake flour and any other dry ingredients, like sugar and salt, before incorporating them into the whipped egg whites. Sifting not only removes any lumps but also helps to aerate the flour, contributing to the cake’s lightness.
3. Folding the Ingredients with Care: Once the dry ingredients are sifted, gently fold them into the whipped egg whites. Avoid overmixing, as this can deflate the egg whites and result in a denser cake. Use a large spatula and fold in the dry ingredients with light, circular motions, being sure to fully incorporate the flour without overworking the batter.
4. Using the Right Pan: Angel Food Cakes are traditionally baked in ungreased tube pans with a removable bottom. The tube in the center allows the cake to bake evenly and helps it rise to its full height. Do not grease the pan, as the cake needs to stick to the sides during baking to support its structure.
5. Cooling Upside Down: After baking, remove the cake from the oven and immediately invert the pan onto a cooling rack or a bottleneck. Allowing the cake to cool upside down prevents it from collapsing as it cools and helps to maintain its light and airy texture.
6. Flavors and Variations: While the classic Angel Food Cake has a delicate vanilla flavor, you can add a touch of almond extract or lemon zest to enhance its taste. Additionally, consider incorporating chopped nuts or citrus zest into the batter for added texture and flavor variations.
7. Avoiding Moisture: Moisture is the enemy of an Angel Food Cake, as it can cause the cake to become dense and lose its fluffiness. Ensure that all equipment used in whipping the egg whites is dry and free of any water or grease. Store the cake in an airtight container or cover it with plastic wrap to prevent moisture from softening the delicate texture.
By following these secrets, you’ll be well on your way to creating a perfect Angel Food Cake that will impress with its lightness and heavenly taste. Enjoy the experience of crafting this timeless classic and savor the joy it brings to your taste buds and those you share it with!
How to Keep Homemade Angel Food Cake Moist
Keeping an Angel Food Cake moist can be a bit challenging, as the cake’s airy and sponge-like texture naturally tends to dry out faster than denser cakes. However, there are a few tips you can follow to help retain the cake’s moisture and enjoy it at its best:
1. Proper Storage: Once the Angel Food Cake has cooled completely, store it in an airtight container or wrap it tightly with plastic wrap. This will help prevent air from drying out the cake too quickly. Alternatively, you can place the cake on a cake stand with a domed lid to protect it.
2. Store with Moist Ingredients: If you plan to store leftover Angel Food Cake, you can place a slice of fresh bread or a few slices of apple in the container alongside the cake. The bread or apple can help maintain the cake’s moisture by releasing a bit of moisture over time. Just make sure not to let them touch the cake directly to avoid making it too soggy.
3. Freeze for Long-Term Storage: If you don’t plan to consume the entire cake within a day or two, consider freezing individual slices. Wrap each slice tightly in plastic wrap or aluminum foil, and then place them in an airtight container or freezer bag. Freezing will help preserve the moisture and freshness of the cake for a longer period.
Remember that Angel Food Cake is best enjoyed on the day it’s made or the following day. While these tips can help maintain its moisture, its delicate nature means it will naturally dry out over time. Nonetheless, with these techniques, you can extend the cake’s enjoyment and savor every light and fluffy bite!
Homemade Angel Food Cake – A Healthier Indulgence
For those mindful of their health, Angel Food Cake offers a guilt-free indulgence. The absence of butter and egg yolks makes it naturally lower in fat, and its fluffy texture means you can enjoy a satisfying slice without feeling overly stuffed.
In a world filled with complex and decadent desserts, Angel Food Cake stands as a delightful reminder that simplicity can be just as exquisite. From its humble origins to becoming a staple in kitchens worldwide, this timeless classic has earned its place as a cherished treat that never fails to lift spirits and bring smiles to faces.
So, the next time you’re seeking a dessert that embodies both elegance and simplicity, consider baking an Angel Food Cake. With each bite, you’ll not only savor a delicate and heavenly taste but also connect with a culinary tradition that has delighted hearts for centuries.

More Decadent Dessert Recipes
Loved this homemade Angel Food Cake recipe? Here are more sweet dessert recipes to try:
- Creamy Strawberry Shortcake Cups
- Orange Creamsicle Dessert Bars
- Peach Pretzel Jello Dessert
- Strawberry Banana Pudding
Remember to share + save this recipe on Pinterest! Don’t forget to follow along with everything Rosie and I Heart Recipes on social media—you can find me on Facebook, Instagram, Pinterest, subscribe to I Heart Recipes on YouTube, and check out all my cookbooks!
Homemade Angel Food Cake
Ingredients
- 1 1/4 cups cake flour
- 1 3/4 cups white sugar
- 1/4 teaspoon salt
- 12 medium-sized eggs, whites only
- 1 teaspoon cream of tartar
- 1 tsp vanilla extract
- 1 tsp almond extract
Instructions
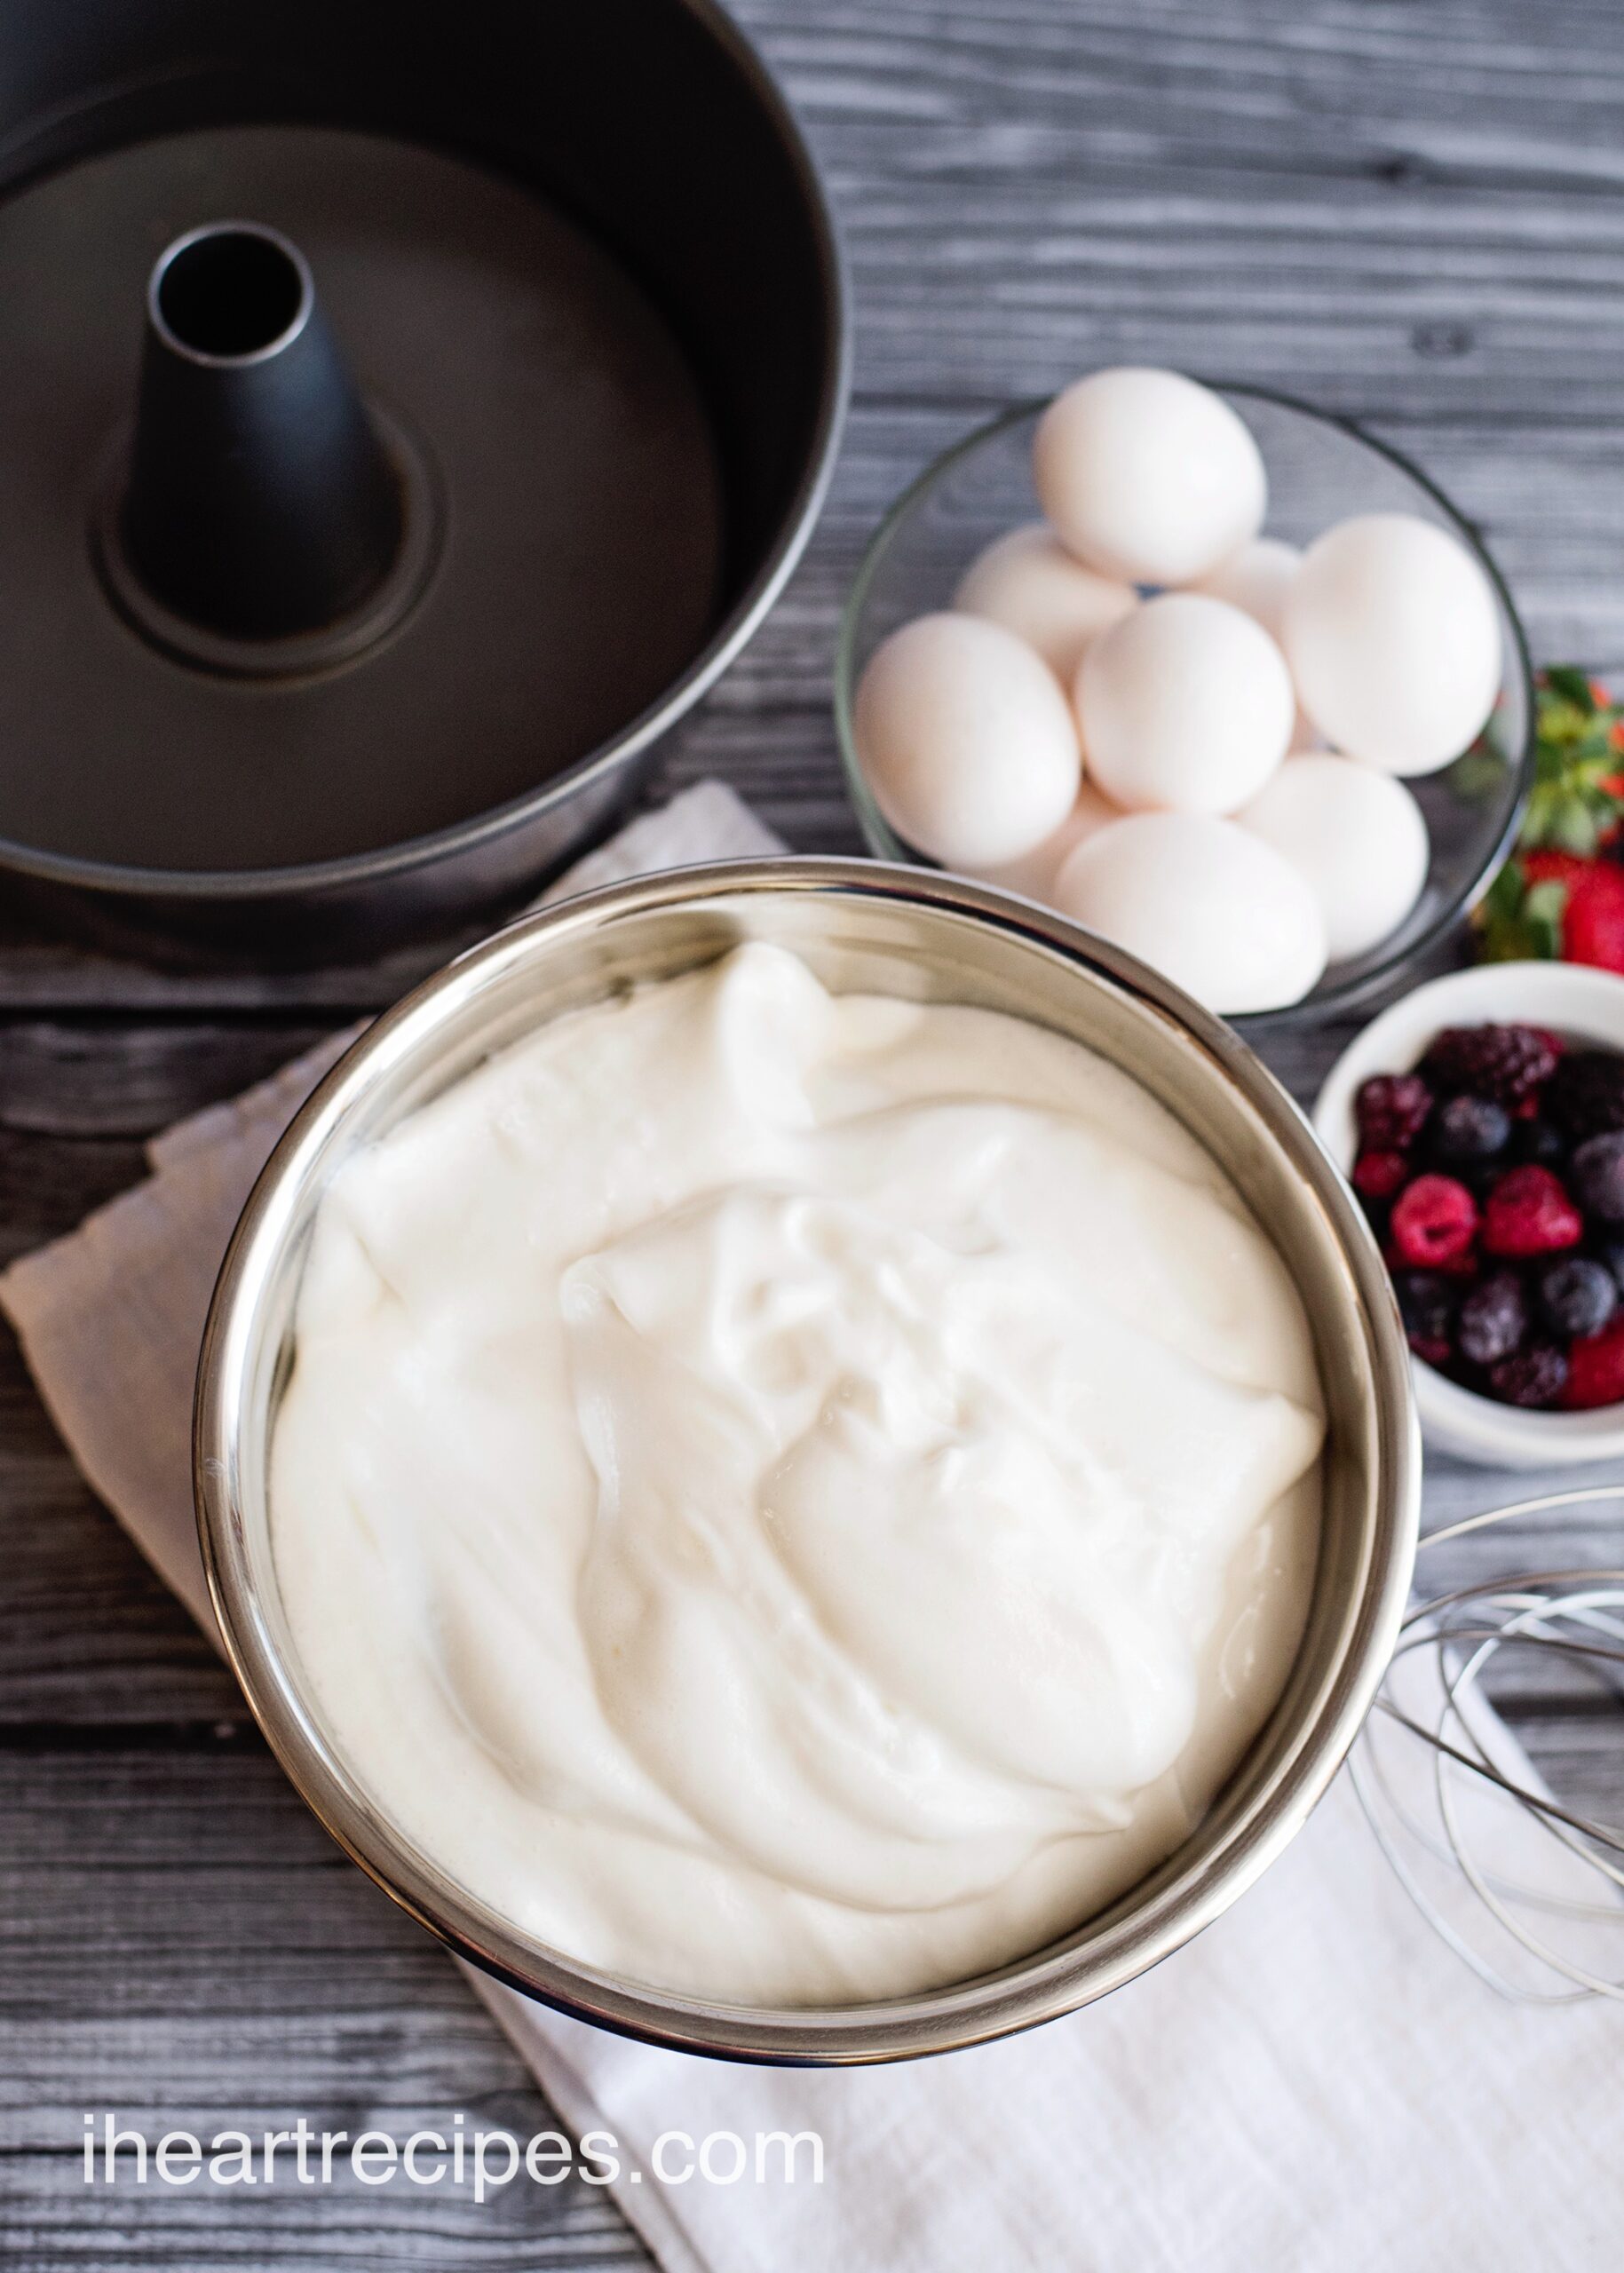
- Beat egg whites until they form stiff peaks.12 medium-sized eggs, whites only
- Next add in the cream of tartar, followed by the vanilla extract, and almond extract.1 teaspoon cream of tartar, 1 tsp vanilla extract, 1 tsp almond extract
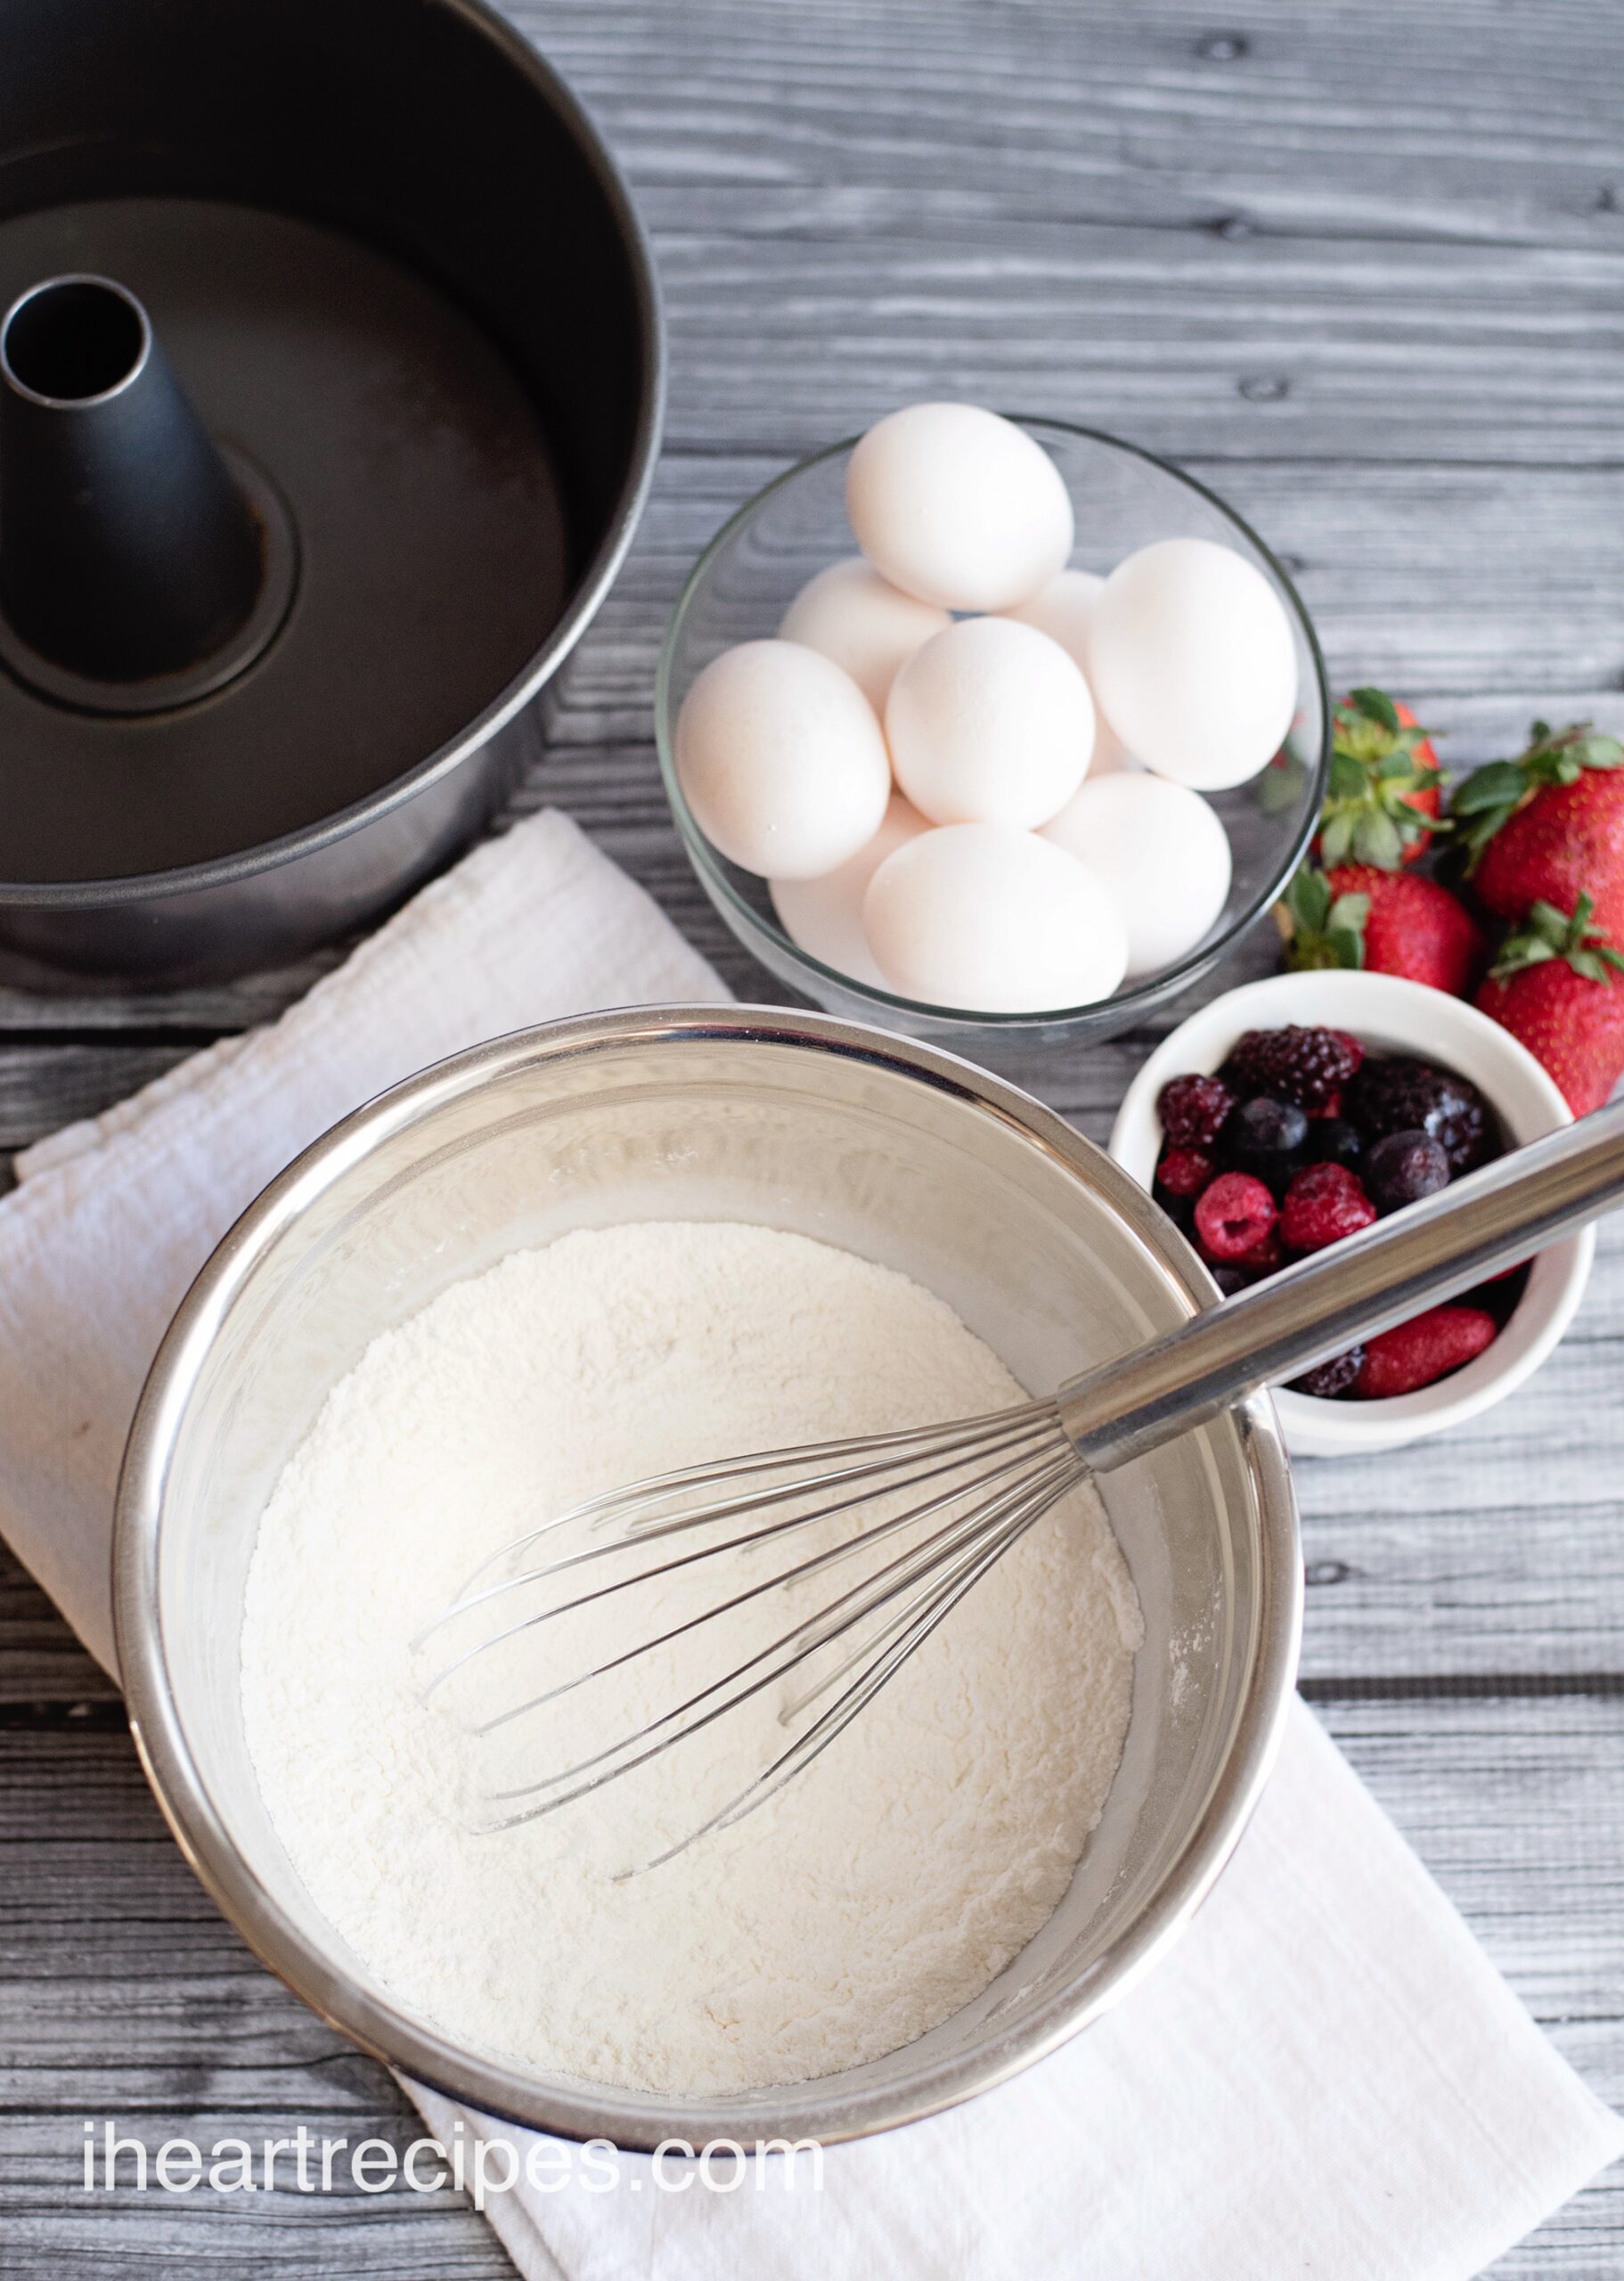
- In a large bowl combine the flour, sugar, and salt. Whisk the ingredients until well incorporated, and lump free.1 1/4 cups cake flour, 1 3/4 cups white sugar, 1/4 teaspoon salt
- Slowly combine the egg whites with the dry ingredients, and mix until well incorporated, but be sure to not over mix.
- Next, pour the cake batter into a nonstick tube pan or bundt.
- Place the cake pan in the oven, then turn the oven and set the oven to 325 F.
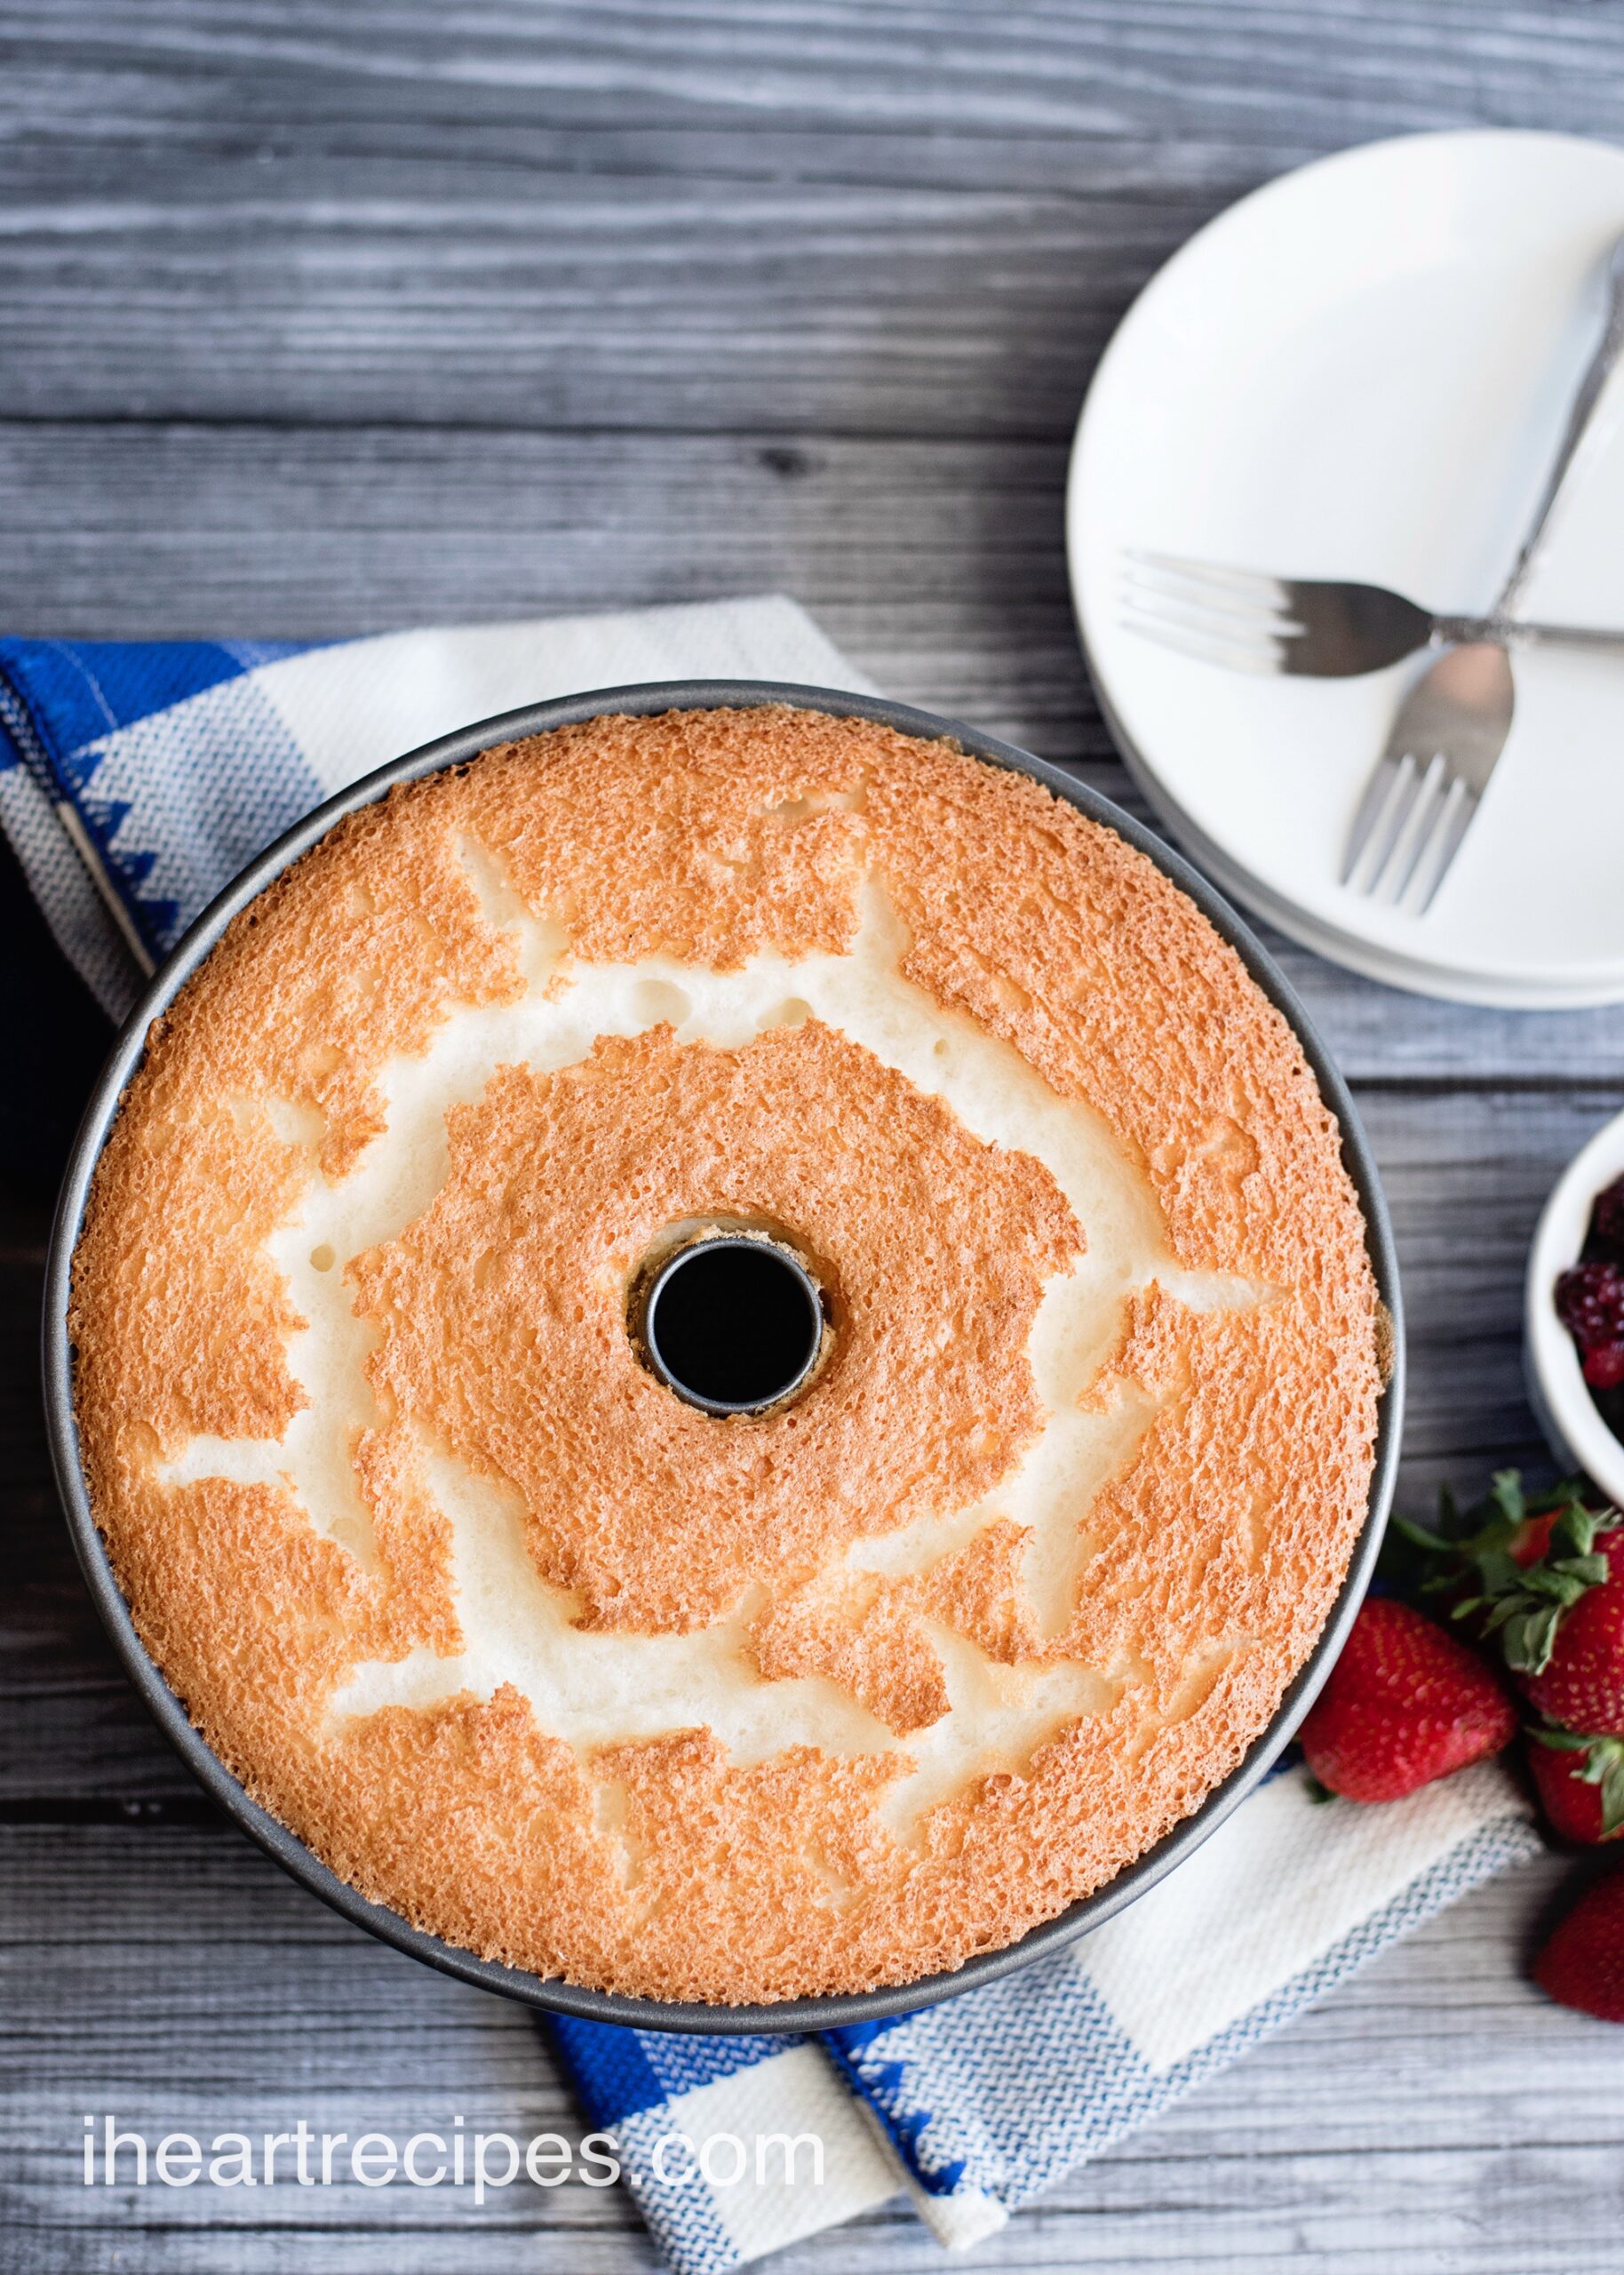
- Bake the cake for about one hour, or until done.
- Flip the cake pan upside down, and let the cake cool in the pan while on a cooling rack.
- Once cooled, remove the cake from the pan.
- Serve with whipped cream and fresh fruit.
- Serve and enjoy!


Leave a Comment